Floor 90 (Boss)
Pagos Tunnels • Floors 81–90
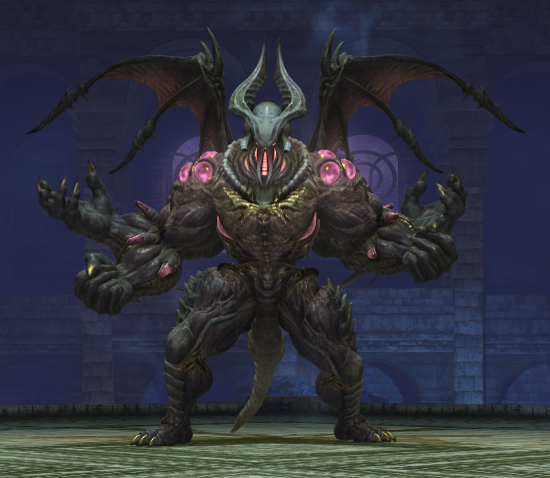
Boss: Malacoda
| Ability | Potency | Effect |
|---|---|---|
| Backhand |
|
270-degree roomwide AoE with late telegraph - safe spot is behind the boss on the side of the glowing hand. Also spawns 4 Arcane Cylinders covering 2 horizontal and 2 vertical rows of the arena, leaving 1 tile of each 4-tile block uncovered |
| Arcane Beacon |
|
line AoE with late telegraph from an Arcane Cylinder |
| Fore-hind Folly |
|
AoE with late telegraph covering the 4-tile blocks to the boss's front and back |
| Twin-winged Treachery |
|
AoE with late telegraph covering the 4-tile blocks to the boss's left and right |
| Hot Iron | n/a | spawns 4 waves of Meteor AoEs randomly across the arena |
| Meteor |
|
telegraphed circle AoE |
| Skinflayer |
|
inflicts knockback across the arena - get close to the boss. Also spawns Arcane Cylinders on 3 of the 4 tile rows |
Notes:
- All abilities except Skinflayer inflict vulnerability up (30% per stack, 1m)
-
Rotation (1m4s per cycle):
- Backhand
-
Fore-hind Folly OR Twin-winged Treachery
- Arcane Cylinders fire at the same time
- Backhand
-
Twin-winged Treachery OR Fore-hind Folly
- Arcane Cylinders fire at the same time
- Hot Iron
-
Skinflayer
- Arcane Cylinders fire shortly after the knockback
- The boss uses Fore-hind Folly and Twin-winged Treachery once each per rotation (in random order)
- The arena is divided into 16 tiles, which can be thought of as 4 diamond-shaped blocks of 2x2 tiles each. Fore-hind Folly and Twin-winged Treachery each cover 2 of these blocks, and the Arcane Cylinders cover 3 of the 4 tiles in each remaining block, leaving 1 safe tile in each of those blocks
- The boss becomes untargetable for an instant while jumping to one side of the arena after Hot Iron - don't forget to retarget!
- The outer damage zone deals ~90k unique damage (unaffected by Steel) every 3 seconds while standing in it, changing to a 15-second DoT for ~35k/tick after leaving
- Feo Ul will defeat the boss in about 9m30s using barkbalm incense with no player assistance
Job Notes & Kill Times
MCH
Kill times:
- 4m30s with barkbalm (7.38)
- 4m with strength and barkbalm (6.38)
WAR
Kill times:
- 11m30s with no offensive pomanders (7.35)
WHM
Kill times:
- 12m30s with no pomanders (7.35)
- 5m30s with barkbalm incense (7.35)
- 5m with strength, haste, and barkbalm incense (7.35)