Floor 40 (Boss)
Pagos Tunnels • Floors 31–40
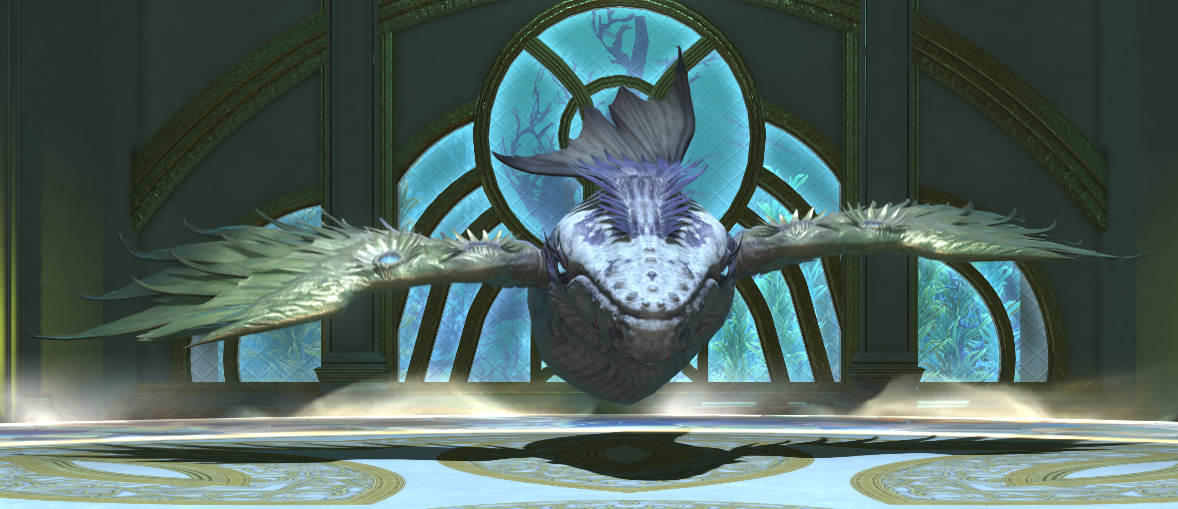
Boss: Forgiven Naivety
| Ability | Potency | Effect |
|---|---|---|
| Blown Blessing | n/a | boss and adds spout yellow or blue particles, telegraphing the order of Shining Shot (yellow) or Saltwater Shot (blue) hits |
| Shining Shot |
|
large pointblank AoE with late telegraph; inflicts vulnerability up (20% per stack, 1m) |
| Saltwater Shot |
|
knockback |
| Near Tide |
|
pointblank AoE with late telegraph; inflicts vulnerability up (20% per stack, 1m) |
| Far Tide |
|
donut AoE with late telegraph; inflicts vulnerability up (20% per stack, 1m) |
| Chaser (?) |
|
telegraphed circle AoEs that spawn randomly across the arena after Near or Far Tide (no cast bar); inflicts vulnerability up (20% per stack, 1m) |
| Self-destruct (adds) |
|
long cast enrage; inflicts vulnerability up (20% per stack, 1m) |
Notes:
-
Rotation (44s per cycle):
- Summons adds (untargetable)
-
Blown Blessing
- The boss will spout either yellow or blue particles, followed by the two adds spouting the same color in random order. After spouting and moving away, the enemies leave markers behind showing where the attacks will hit
- The second cycle is always the opposite color of the first. All other cycles are random
-
Shining Shot OR Saltwater Shot, based on Blown Blessing color
- For Shining Shot (yellow), position near the third add and move toward the boss marker after its AoE lands
- For Saltwater Shot (blue), position near the boss marker and get knocked toward each add marker in sequence
- Adds become targetable after the boss's attack resolves
- Far Tide OR Near Tide
-
Chaser
- Not used in the first cycle
-
These adds are much more lenient than on floor 10, with lower auto-attack damage and more time before their enrage. Most jobs should have no trouble with them
- Relying on barkbalm incense can be risky - if you move away for Near Tide, Feo's AoE lightning might miss the adds. It's probably better to stay in the middle and take the hit from Near Tide in this case; the damage isn't dangerous with the barkbalm HP buff, and Feo will heal you up afterwards
- A single Arm's Length or Surecast will cover all three blue knockbacks if you use it immediately before the first one
- The outer damage ring deals ~45k unique damage (unaffected by Steel) every 3 seconds while standing in it, changing to a 15-second DoT for ~18k/tick after leaving
- Feo Ul will defeat the boss in about 3m50s using barkbalm incense with no player assistance
Job Notes & Kill Times
MCH
- No pomanders required
Kill times:
- 3m with strength (7.38)
WHM
- No pomanders required
- Assize + Afflatus Misery or Glare IV burst will take out the adds
Kill times:
- 5m with no pomanders (7.35)
- 3m30s with strength and haste (7.35)
- 2m with strength, haste, and barkbalm incense (7.35)